
This page is no longer updated!
CONSTRUCTION COMPLETE! - Summer 2013


11/7/2013 - Lifting ramp installation allows easier access to the strong arm.

26/6/2013 - Sliding hatch installed


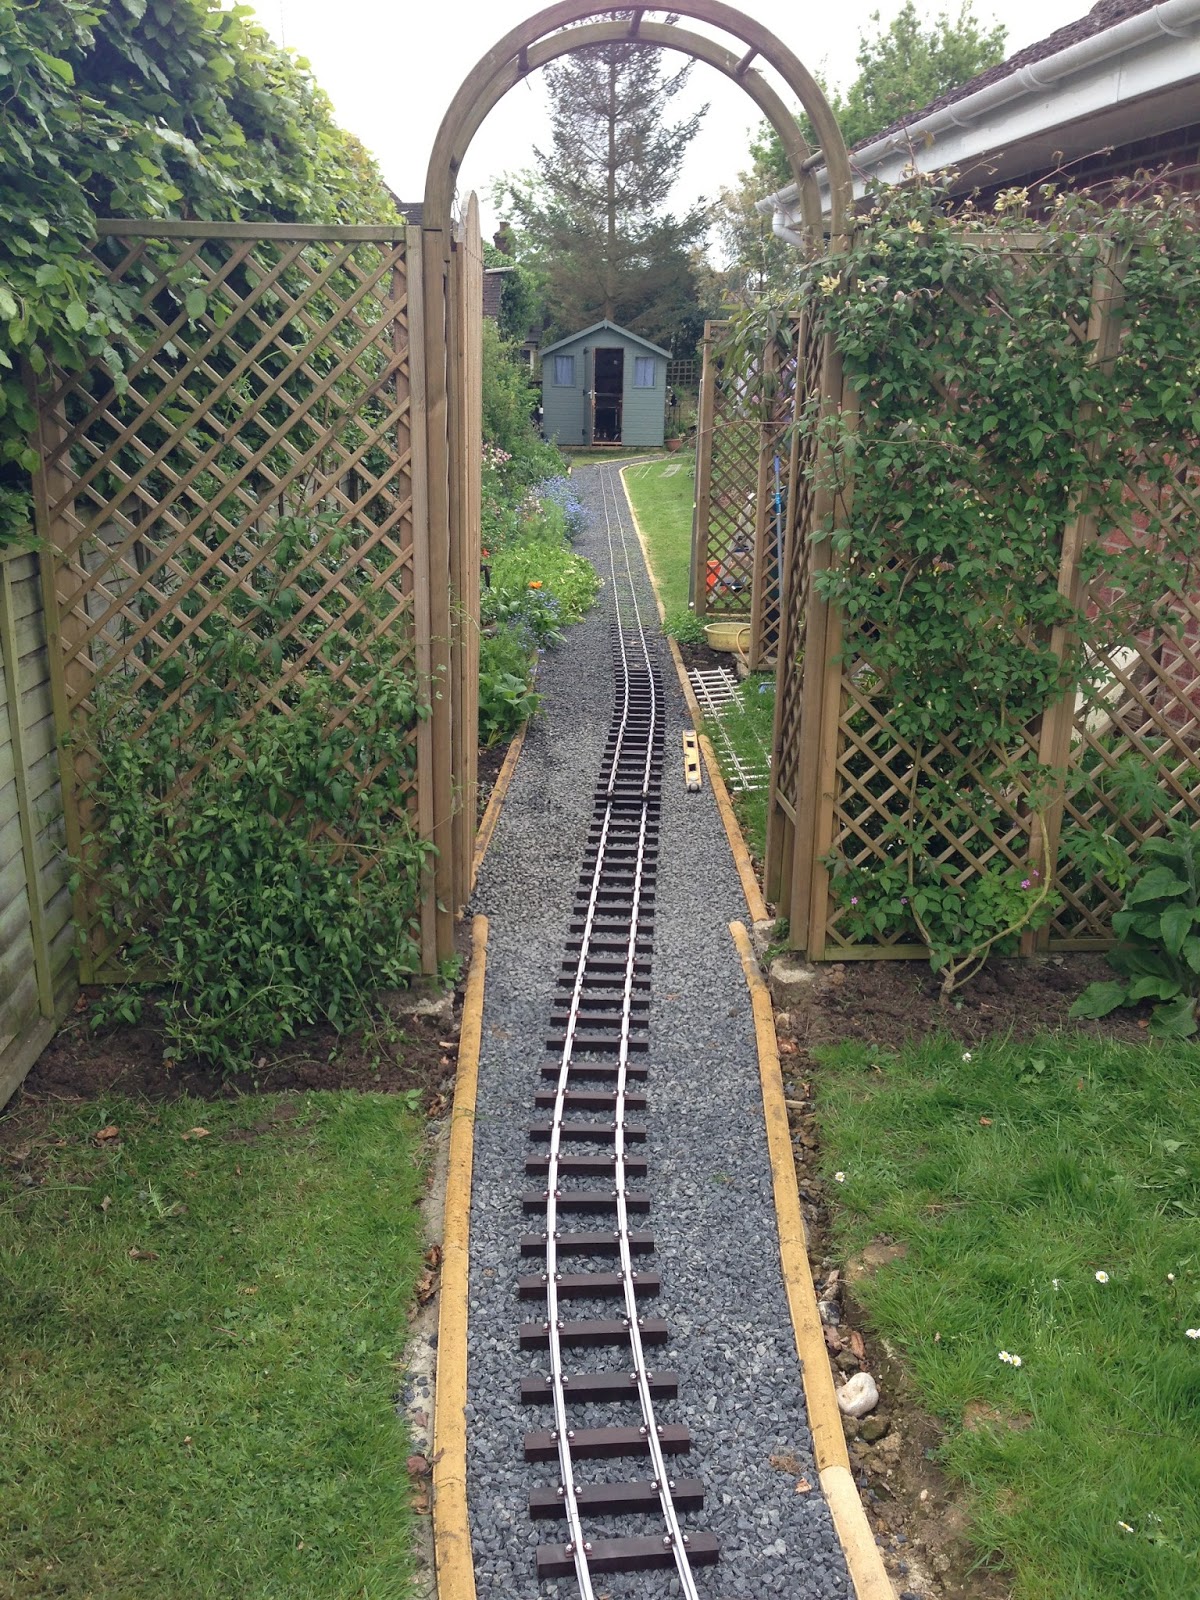
24/6/2013 - Final alignment and fettling, plus flyby of the Vulcan Bomber!

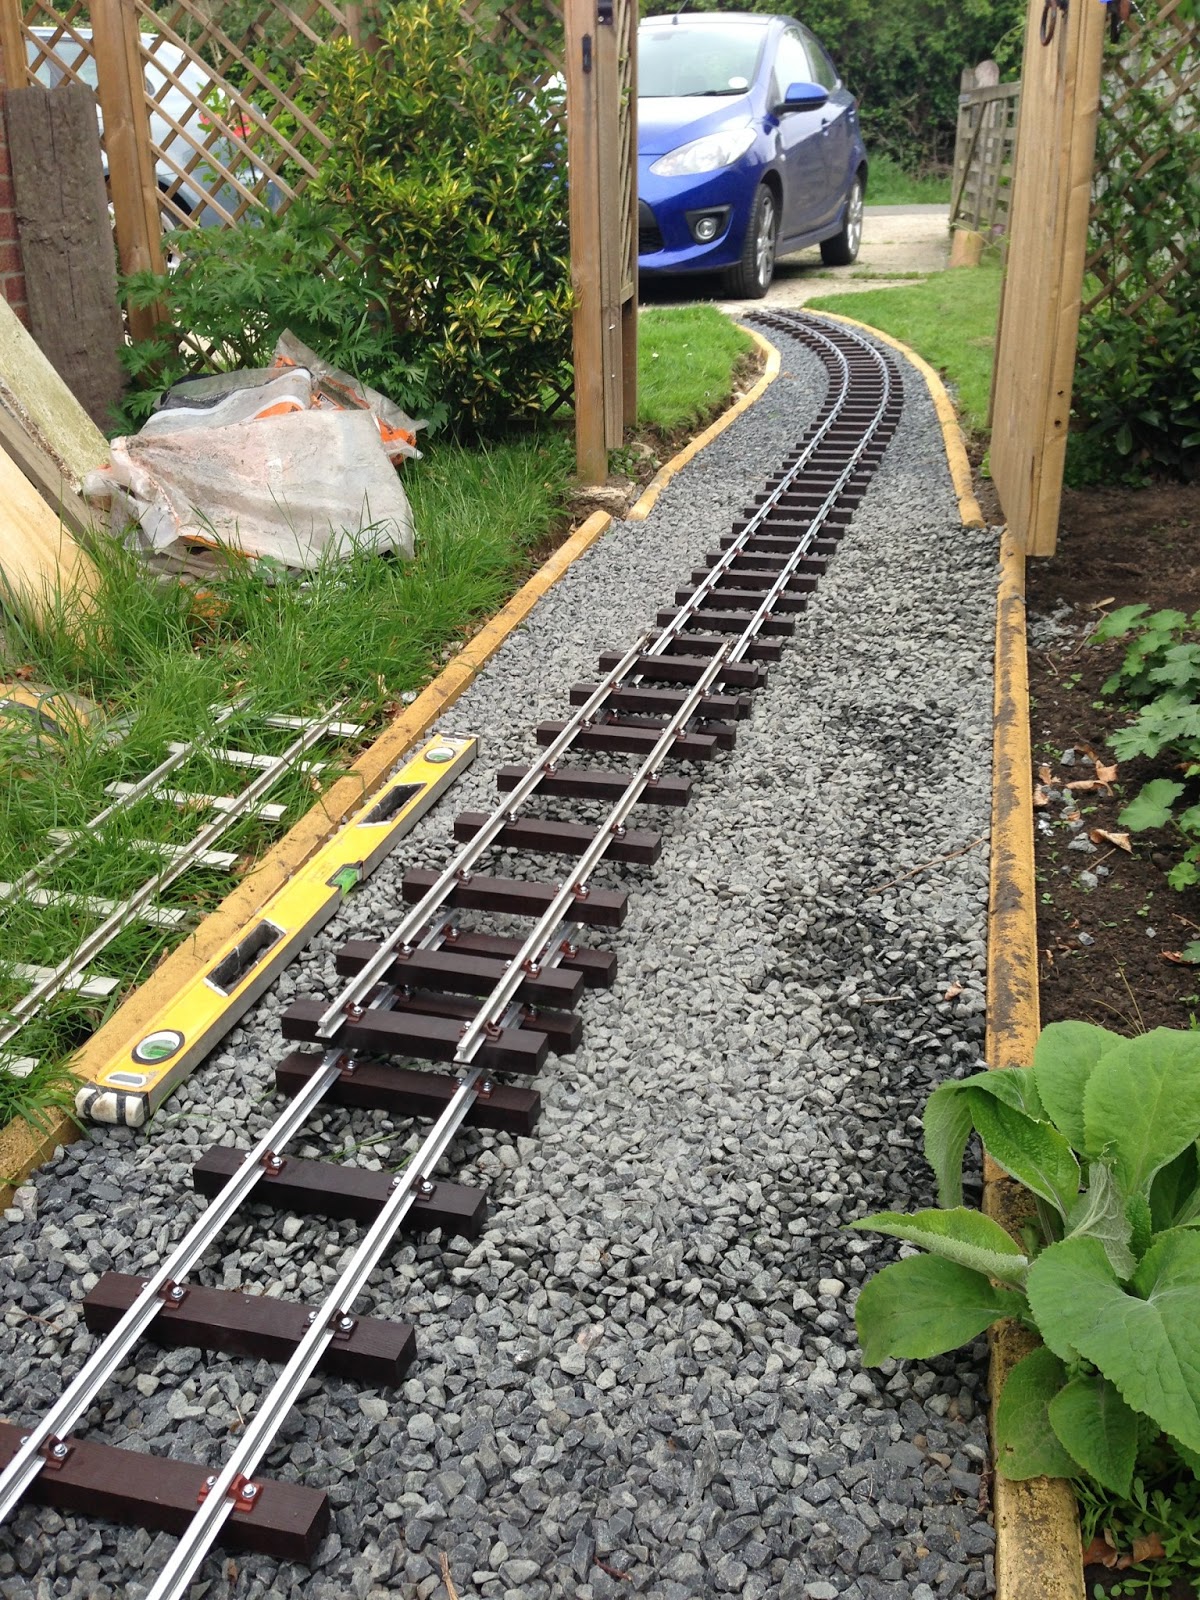
24/6/2013 - Ramp painted and track positioning

19/6/2013 - Ramp positioned & Area ballasted

19/6/2013 - Work on the Ash Pit and ramp began
Construction was complete to this point within a 455 day time span, mainly at weekends!
Over the following days the track was ballasted in and adjustments made to the driveway section.


25/5/2013 - The completed track bed prior to ballasting.


25/5/2013 - With the final section laid in place and connected together
the final track panel was cut to length and connected up to complete the loop!


25/5/2013 - Old Romney, Hythe & Dymchurch Railway signage will be put back to work on the Great Woodchurch Railway!
22/5/2013 - The very last panel has been made oversize to allow for adjustment once the top curve has been laid and aligned.


22/5/2013 - The final track panels have been assembled to the approximate layout

12/5/2013 - Two pieces of rail have been bent to a slight radius,
this panel will allow a straight section to bridge the final gap!
this panel will allow a straight section to bridge the final gap!

12/5/2013 - A quick layout test with 2 original 2.5m aluminium track panels

12/5/2013 - Two track panels were made and laid out after some extra ballast was added to the track bed.

12/5/2013 - Track panel construction

2/5/2013 - A slight height misalignment, this will be remedied with the ballast shoulder....not bad considering!

2/5/2013 - The top curve has been connected to the rail head, but not to the driveway section as yet.


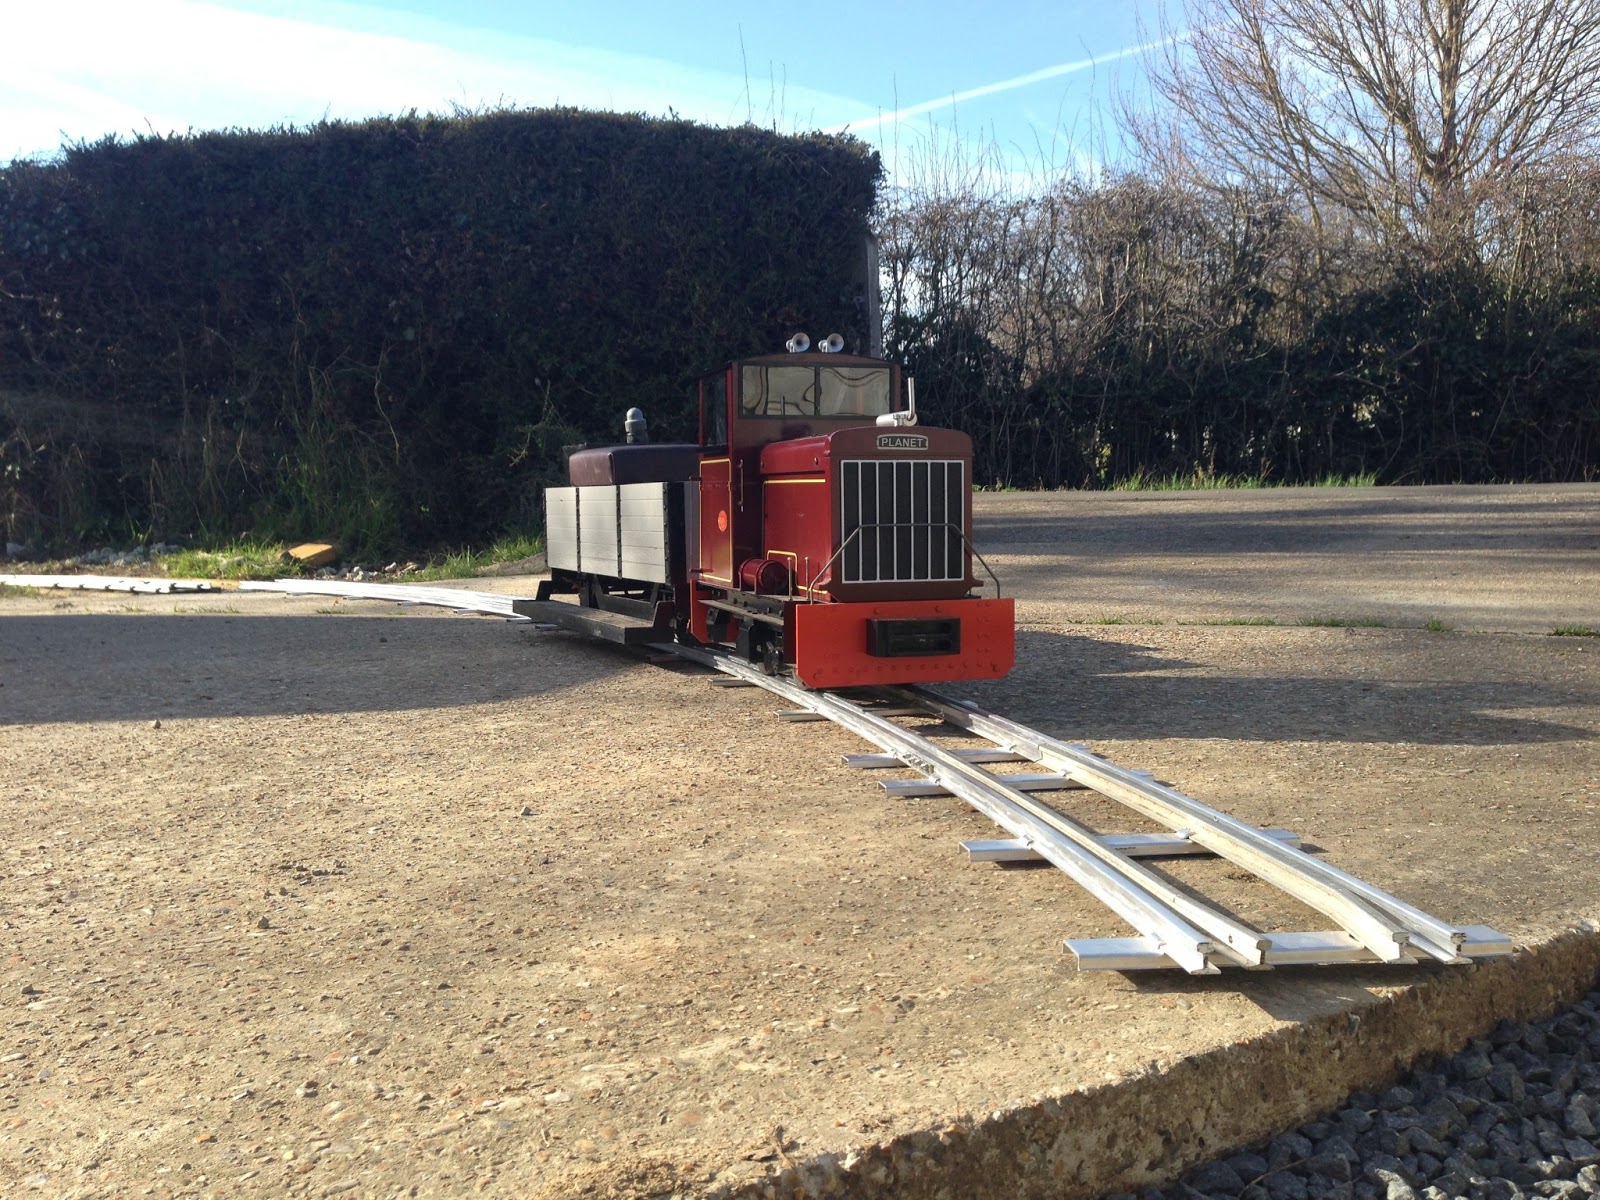
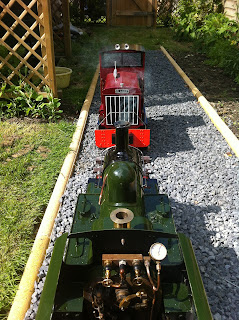
2/5/2013 - 'Planet' testing the newly connected panels

2/5/2013 - 3 track panels have been made to fit the gap between the current rail head and driveway top curve.
1/5/2013 - A Spring trundle


1/5/2013 - The top surrounding layer of concrete has been laid and track tested with the 'Planet' loco

29/4/2013 - Track panel was bedded into the concrete cut

28/4/2013 - I spent the day at a local 7 1/4" gauge railway driving this fine chariot!

21/4/2013 - Spring is approaching at the prettier end of the garden!

21/4/2013 - The hammer and chiseling does have its downsides...


21/4/2013 - A quick wash and brush revealed a concrete railway cutting, of sorts.


21/4/2013 - The track panels fit was then evaluated


21/4/2013 - After lunch the final concrete was removed


21/4/2013 - With the morning came more arm bending cutting 'n' breaking


20/4/2013 - The rest will be removed tomorrow! (PJ-Day)

 20/4/2013 - The lower test section reveled a second cut & break would create a suitable depth for the aluminium track panel.


 14/4/2013 - 'Planet Panorama'


 14/4/2013 - With the completion of around 4.5m of track panels the 'Planet' loco was run around to test .
 14/4/2013 - The 1400 was also moved around the temporary track to see how things looked!


31/3/2013 - Start of 'Easter Day 3', Easter Day, saw the last removal of soil, sub-base tamped down and a layer of ballast laid


 29/3/2013 - Edging being laid back down the garden from the very first piece laid on the 25/2/12


24/3/2013 - Trackbed in progress.

 17/3/2013 - Before the rain arrived the second side of edging was laid. We can now get the trackbed material down before starting work on the other side of the drive in the coming weekends.
 3/3/2013 - A panorama of the current front garden progress.

 3/3/2013 - The track will have an incline from here to the level curve, approximately the same as the main straight.


 3/3/2013 - The Saturday saw excavation of the joining straight, through what must have been the site of a small sand quarry.. or where the builders had their sand piles!


 2/3/2013 - Edging installation continued apace. The track panels were joined together to create one and positioned to check the radius! ONE YEARS WORTH OF CONSTRUCTION FROM THIS POINT ON!


 10/2/2013 - Once the area was ready for edging 4x 2m Track panels were made for the large curve up to the driveway.

3/2/2013 - The inside edge of the trench for the outside edging was marked out to give a digging guide.


 13/1/2013 - There is (very) high point in the lawn here, the track bed will be in a cutting, possibly with the need for sloping edges!


 13/1/2013 - Digging continued to allow the entire curve to fit in the 'valley' The new water butt has been installed and soak away buried.


 6/1/2013 - With a new gate installed exploratory digging commenced revealing a block soak away pipe, this will be relayed away from the track bed.
25/12/2012 - A Christmas trip around the line!
 25/12/2012 - Christmas on the GWR
16/9/2012 - A trip around the current extent of the GWR

 16/9/2012 - Phase 3's alignment, this will be in a slight cutting.

 16/9/2012 - Rough placement of phase 3's next alignment

 16/9/2012 - Two more track panels have been laid. Another pause in construction will now take place until a new gate is installed here.


12/8/2012 - The 1400 was steamed and tested over the new formation

 12/8/2012 - More soil has been removed and edging boards laid

 28/7/2012 - 'Planet' testing the new formation


 28/7/2012 - The station area and passing loop had been completed and ballasted in
.JPG)
.JPG) 27/7/2012 - 4 hours work saw one layer of ballast laid & levelled, the point and two track panels made, laid, connected and ballasted down!
27/7/2012 - 4 hours work saw one layer of ballast laid & levelled, the point and two track panels made, laid, connected and ballasted down!
.JPG)


 23/7/2012 - The station and passing loop area has had a more simple wooden edge installed and the entire area dug out and very roughly levelled. Due to the large oak tree and substantial hedge digging too deep was always going to be a nightmare with such a complex route system... the less unnecessary digging the better in this section!


 23/6/2012 - The edging has been extended towards the station area of Phase 2
17/6/2012 - The return of the 1400's distinctive 'chuff' - New YouTube version

 17/6/2012 - After some mid week repairs to replace a couple of the piston rings Fathers day saw the steaming of the 1400. She is seen running here minus the front frame stretcher and buffer beam to allow easy viewing and access to the piston block.


20/4/2013 - With the first layer of concrete painstakingly removed a smaller section had a second layer cut and removed as a test.


20/4/2013 - Three initial cuts were made and the middles broken out.
Once 2 more in-between cuts were made the breaking out continued.


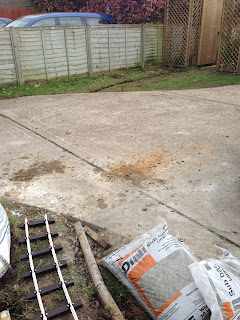
20/4/2013 - Today's the day! With an angry looking cutting disc, the drive's dissection began.

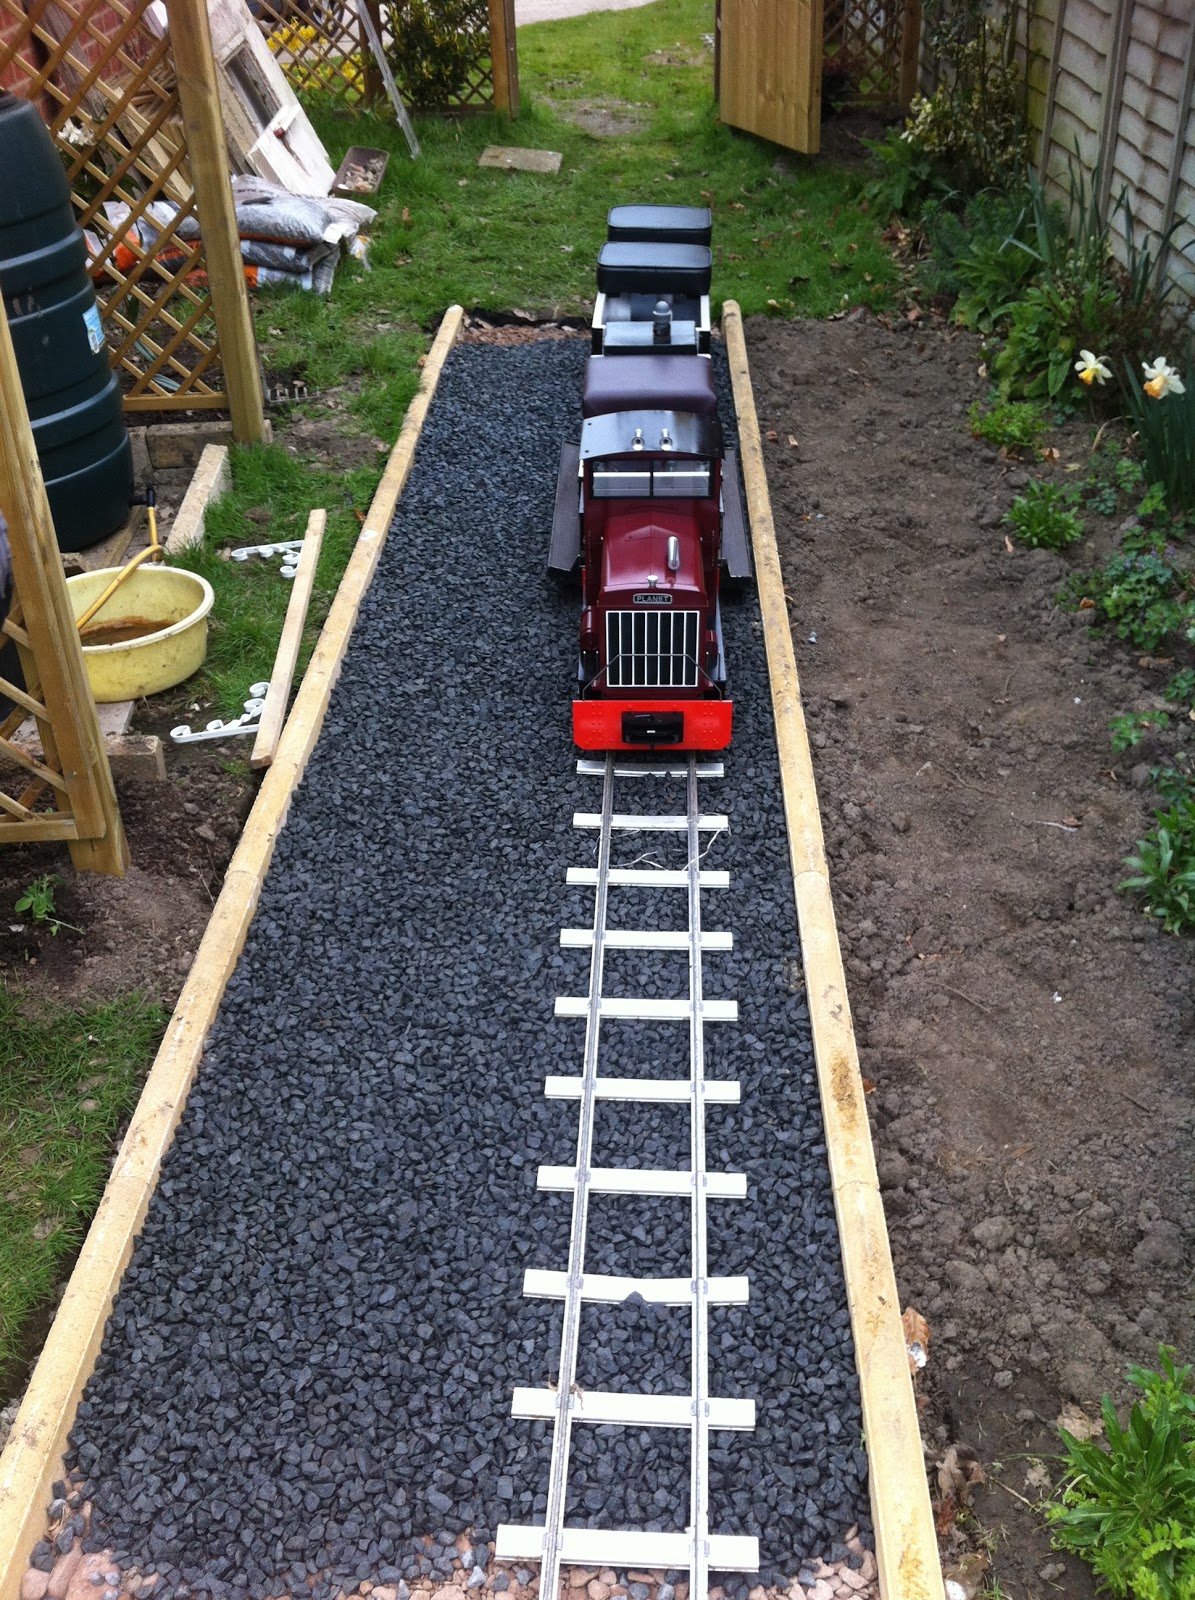
14/4/2013 - 'Planet' & check rails! The concrete will be cut out and the low profile track panels laid in flush with the surface.


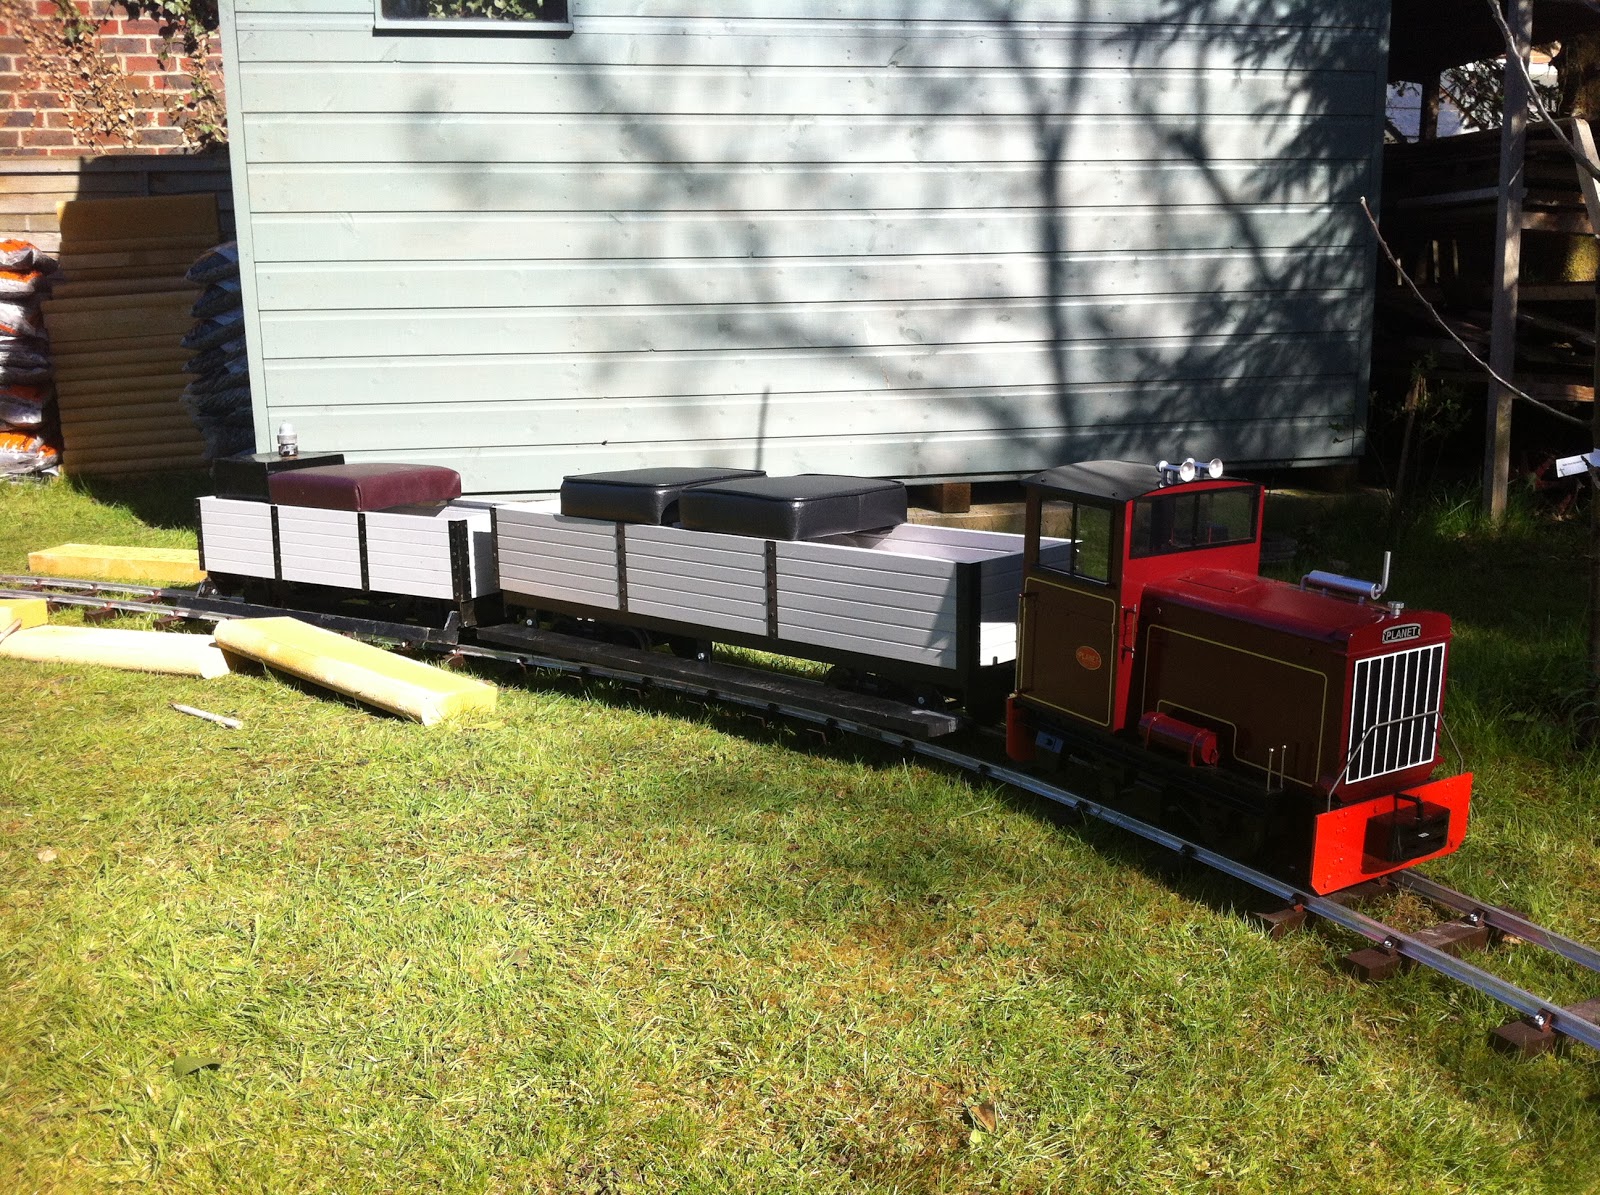
14/4/2013 - Track panels for the concrete drive section have been made.
These were made using the some of the original unused aluminium sleepers. After the first panel was complete with its check rails the 1400 was brought out to check clearances!

31/3/2013 - The first track panel has suffered some movement over the last year,
but in the near future it will be reset and curve via a long 'dog leg' to the start of the driveway curve.

31/3/2013 - The 19' radius track panel in its actual approximate position.


31/3/2013 - The 19' radius track panel placed as an illustration of the end result we hope to achieve over the coming weeks.


31/3/2013 - Start of 'Easter Day 3', Easter Day, saw the last removal of soil, sub-base tamped down and a layer of ballast laid


30/3/2013 - By the end of Easter, Day 2, some of the very last edging was laid.


30/3/2013 - With the ballast bag light enough to move the final two pieces of top curve edging was concreted down

30/3/2013 - Rough track position on the top curve


29/3/2013 - Some initial trench digging brought the first Easter weekend day to an end.


29/3/2013 - Once this was complete we marked the position for the second half of the curve.


24/3/2013 - Trackbed leveled and completed ready for track laying.


24/3/2013 - Trackbed in progress.


3/3/2013 - The cutting here is rather deep due to the amount of sand in the soil!


3/3/2013 - The completion of one side of the edging leaves a 6" gap to fill!

3/3/2013 - We eventually found the oil pipe and adjusted its height to allow the edging to be laid across it.


3/3/2013 - When we came to lay the first piece we stuck metal, it turned out to be one whole end of a bed...
the other end is still buried under the spoil heap!


3/3/2013 - Feline difficulties while attempting to set out a string line for the edge laying


2/3/2013 - Once finished a test trench was dug between the two track beds. This was in aid of finding the pipe from the oil tank!


16/2/2013 - Edging was then laid over the following weekend.
The curve is laid on the level to match the driveway.


3/2/2013 - The inside edge of the trench for the outside edging was marked out to give a digging guide.

3/2/2013 - Some of the trouble makers in question...


3/2/2013 - Due to the proximity of the hedge and a more 'disagreeable' tree, some 'significant' routes had to be removed - This lead to some extra areas being dug up to save time sawing and chopping later!

3/2/2013 - With 2 final delivery's of edging and ballast a start on the curves edging was made.


27/1/2013 - Our attention will next turn to the curve leading from the concrete driveway
to allow correct positioning and leveling when joining up.

27/1/2013 - Planet was used to test the new extension


27/1/2013 - The track bed was prepared and track ballasted in on the Sunday


26/1/2013 - With the edging concreted in level the top is 10cm below the ground height at this point.
-The track will climb over the next 6M but will still be a few CM even Lower further on.


26/1/2013 - The manhole drain needed some minor sculpting to give sufficient track bed width.


26/1/2013 - Edging was laid over the Saturday to the length of the ready made
curved track panel & the straight marked out.


13/1/2013 - With the curve supported so it became level, the change in track
was tested with a truck and ground-to-rail-height investigated


13/1/2013 - After the last of the wooden edging was installed, sub-base and
ballast laid a 1.1M panel was constructed a ballasted in.

13/1/2013 - After marking out the alignment for the proceeding straight the
curve was positioned to give a dimension for the missing piece of track


6/1/2013 - A rough curve was dug out so we can begin laying the edging to suit the pre-curved track panels


6/1/2013 - The start of the cutting which will bring the track bed up to driveway height.. hopefully...


16/9/2012 - Cat looking confused after nearly being run over!

12/8/2012 - A trip around phase 1 and 2 behind the 1400


12/8/2012 - The 1400 Posed in each half of the station passing loop


12/8/2012 - The 1400 was steamed and tested over the new formation


28/7/2012 - 'Planet' running over the newly lengthened line


28/7/2012 - More alignment testing

28/7/2012 - An old aluminium panel has been positioned at the end to allow running round


.JPG)
.JPG)
.JPG)
27/7/2012 - A start was made on laying the track into the passing loop and station.

23/7/2012 - With probably about 2 tonnes of soil removed half a ton sub base was brought back in and roughly laid.
Next weekend will see the ballast and track laying


8/7/2012 - The first 3 (2m) track panels had been cut and laid with some
ballasting complete before a rain storm ended the day.

1/7/2012 - Over the past two weekends the membrain, subbase and first layer of ballast was laid.


24/6/2012 - The weekends edging laying has been completed, followed by the removal of turf.


23/6/2012 - Point and station passing loop alignment


17/6/2012 - The return of the 1400's distinctive 'chuff' - New YouTube version


10/6/2012 - 'Planet' on the temporary extension

10/6/2012 - 'Planet' on a width test


10/6/2012 - The first 12 edging pieces of Phase 2 have been laid

10/6/2012 - Edging transferred by rail
A quick update on the 1400's 'jumping' at corners and one way only issue. The problem seems to stem from one of the middle wheels, as it became more apparent over the new points.
The quality design and lack of specific build instructions by 'Winson' means that the 1400's wheel gauging is impressively 'out' I had already made some adjustments (hammer) to narrow the wheels on the axles but one refused to move, so due to the risk of breaking the castings I allowed it to stay wider then the others. This appears to be the crux of the problem. This will need to be looked at in due course but for the time being it will have to run 'left' only! There is also a piston and/or valve issue which needs to be resolved.

9/6/2012 - Fathers day present in the form of a concrete GWR 1400 planter has arrived!
- Almost the same size as the 5" gauge model!


9/6/2012 - After the initial alignment was decided the first trench for phase 2's edging was dug


9/6/2012 - Phase 2's points, passing loop & track position test


9/6/2012 - Testing the ruff track positioning for the end of Phase 2

9/6/2012 - An additional track panel has been laid at the top of the straight


9/6/2012 - Testing the new track layout


9/6/2012 - The new replacement 20ft radius 'Y' point as been laid with new connecting track. (very temporary track laid towards shed to allow the 1400's fire to be dropped!)
1/6/2012
After a short break in activities we have received our new replacement point and two additional points for the Phase 2 Thanks to http://www.rmetrackworks.co.uk
Phase 2 will hopefully begin this month once Phase 1's new point has been laid and track work adjusted to suit.
------------------------------------------------------
Up to this point it has taken us roughly only 10 full weekends of work!
------------------------------------------------------

Not all went well, the point is unfortunately too tight for the 1400's wheel base! The main curve is the biggest problem with the line as it had to be the tightest section, hence it being Phase 1. The curve has an approximate radius of 13feet, while the point is just 10feet - So on seeing the point she just goes straight on! (We have ordered a replacement 20ft radius 'Y' Point in addition to the next 2 points required for of Phase2 - http://www.rmetrackworks.co.uk) This was disappointing enough, but then additional problem arose as she resisted the main curve as well!! Having tested the loco on the curved panels prior to construction I was confident this would be sufficient for the 1400, but it seemed once laid she had other ideas! The front left driving wheel would simply ride up over the rail due to her small flanges and occasionally push the back end off at the same time. To aid this we decided to lift the track, re-screed the track bed and re-ballast the panels back in on a slightly larger radius. This now means the track does not run in the centre of the edging, but goes from the outside edge to the inside and back again.

On testing the loco on the modified curve we found it did aid passage, but still she lifted over randomly. After this the last thing to try was to run in the opposite direction... this of course worked a treat! I had one possible solution that made sense to this 'only go left, not right' issue so I looked into it the following day... I adjusted the ride height of the rear right trailing axle to push the front left down more (as she's always been a bit out of balance) to reduce the chance of riding over the rail again. This helped but it still didn't stop it happening!

I gave up at this stage, replaced the point with a piece of temporary curved track and ran up and down (pointing towards the house) for the rest of the day! - Why she reacts different going one way to the other I am really confused by. I have one more thing to try, as it can only be an issue or 'quirk' of the loco, but if all else fails the 1400 will just have to run one way only!!


6/5/2012 - In cab view!
6/5/2012 - A complete run over Phase 1!


6/5/2012 - More ballast is yet to be added on the path half of the straight &
two mounds area appearing around the inside of the main curve!


6/5/2012 - Ride on testing!


6/5/2012 - Track is one panel short on the main straight, but the rest is finally laid.


6/5/2012 - Second layer of ballast with track in in final position

6/5/2012 - A screed was made to allow us to attain at constant height for the first layer of ballast.


5/5/2012 - Ballasting of Phase 1 has been completed! - Track not in final position.


5/5/2012 - Last section to be ballasted


5/5/2012 - Sub base and ballast continues & last section of essential edging laid

2/5/2012 - 'Planet' on a test run


2/5/2012 - Track rested on top of ballast for a quick test of levels and curvature

2/5/2012 - The first layer of ballast has been laid on the main curve

28/4/2012 - An additional track panel has been converted


28/4/2012 - The Main curve has been dug and the sub-base layed over the entire length

28/4/2012 - The point area still remains to be dug out

28/4/2012 - Work in damp progress!

18/4/2012 - Two more track panels have been converted


14/4/2012 - The trench for both side edging have been dug and edging laid on the level.


14/4/2012 - Edging complete on the main curve, the cut out grass enables levels and widths to be checked, as shown.


14/4/2012 - The track was placed back between the new edging to test curvature and widths.
A piece of pipe has also been laid underneath the trackbed to provide services to the shed.


14/4/2012 - 4 original Maxitrak aluminium sleeper track panels have so far
been converted with the much smarter PNP Railways plastic sleepers.


10/4/2012 - With the main curve pinned in position one of the two channels for the edging has been dug out


10/4/2012 - Edging for the points area has been laid and is advancing around the main curve

10/4/2012 - Then the rain stopped play!


10/4/2012 - Main curve position test

10/4/2012 - The curve track panels have now been cut and joined
10/4/2012 - Main curve ride-on test


10/4/2012 - Edging width test for main curve


10/4/2012 - Sub-base extension


31/3/2012 - Ballast transferral via rail


31/3/2012 - First layer of ballast on test area, plus track position test. (track will be opposite side when finally laid)


31/3/2012 - Additional sub-base laid

31/3/2012 - New 'Y' point laid out in approximate position

31/3/2012 - Planet in charge of her new train.


24/3/2012 - Edging along the main straight up to the planned 'Y' point is now complete.
An additional section of sub-base has also been laid.
24/3/2012


23/3/2012 - Bulk edging delivery
23/3/2012 - Edging transferral via rail!


18/3/2012 - Edging progression, plus sub-base test


26/2/2012 - First 4 edging pieces laid at the correct angle and spacing

25/2/2012 - Track bed edging test pieces
From the archive.....

25/6/2005 -Initial railway feasibility test track laid over 6 years ago!

25/6/2005 -Burnt knees! Testing the 1400 during her lengthy overhaul.


12/5/2005BSAO (Before Steam, After Orchard)